
Last updated September 11, 2026
Full 25-point door and opener safety check with every visit - springs, cables, rollers, tracks, and your LiftMaster or Chamberlain opener included
You get a price before we start. It does not change when the truck arrives.
 Before
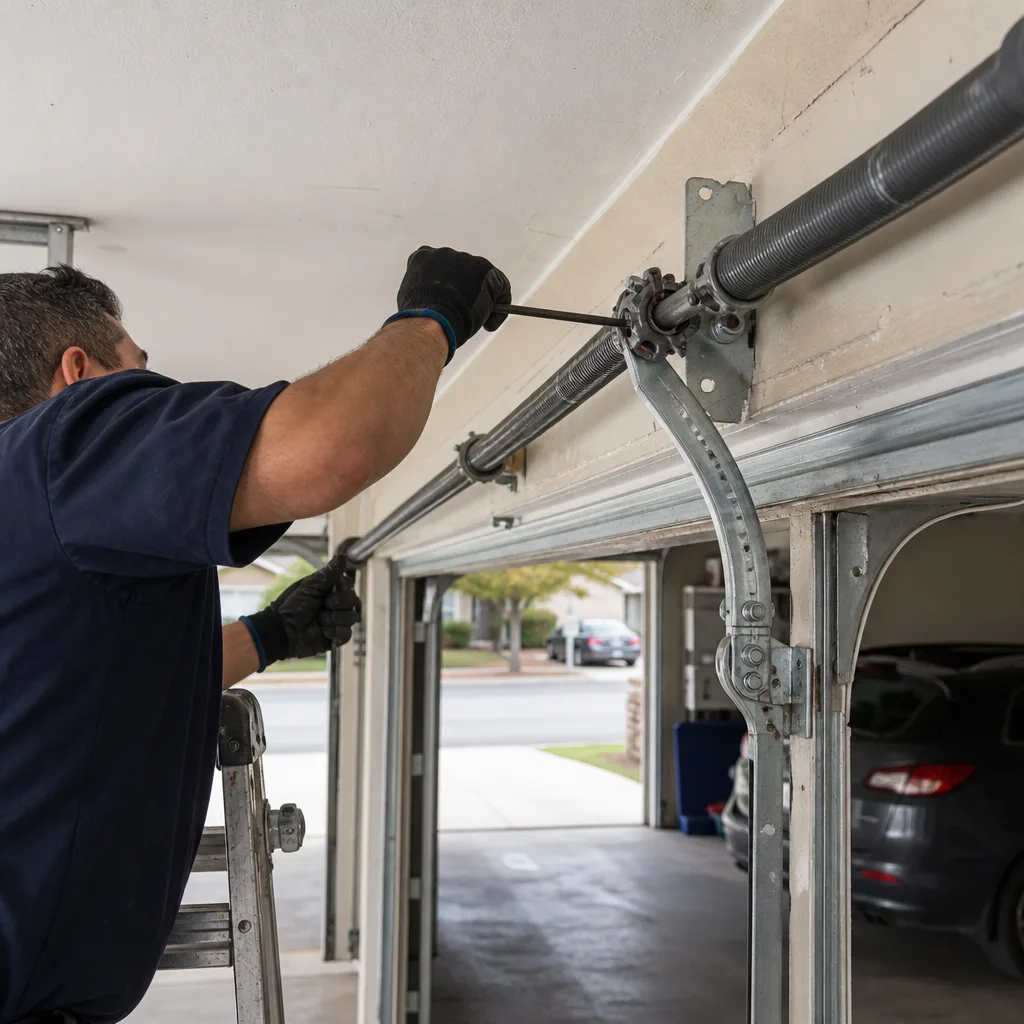 After
After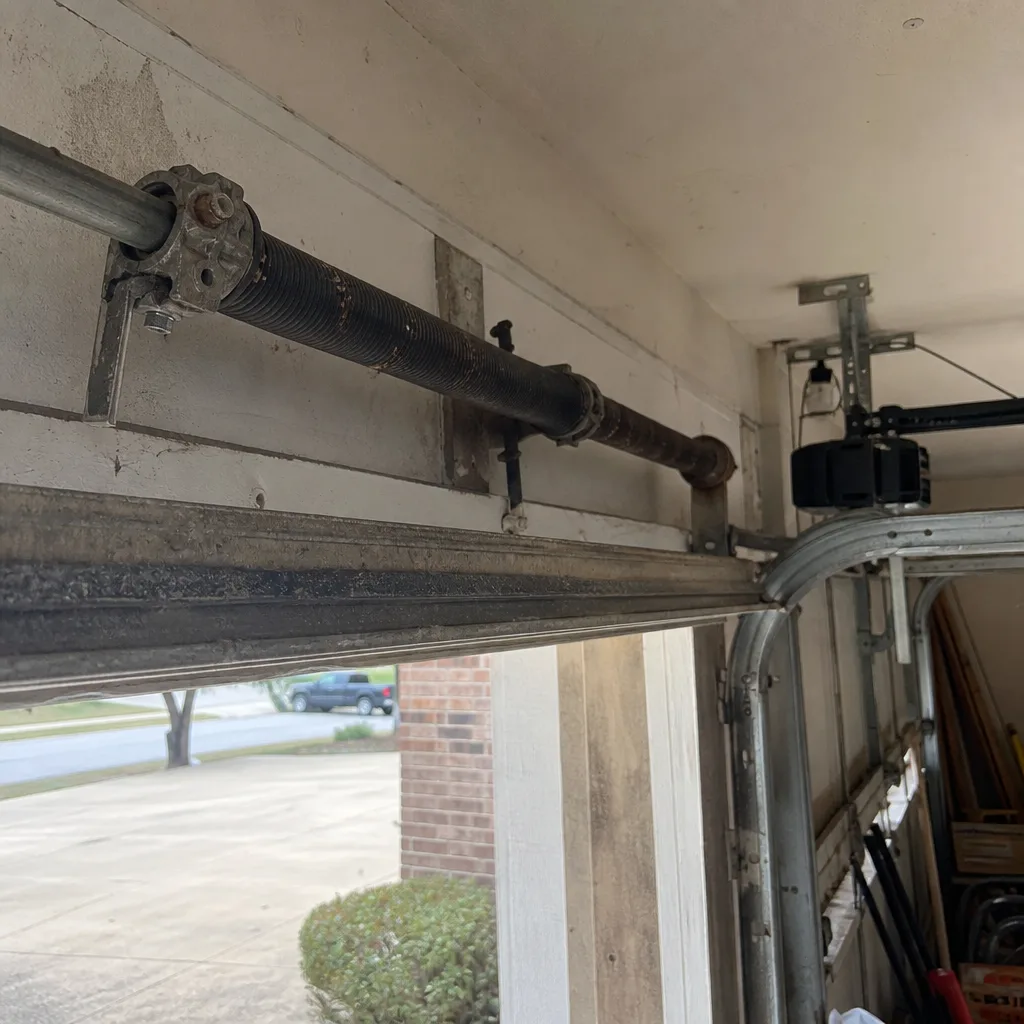 Before
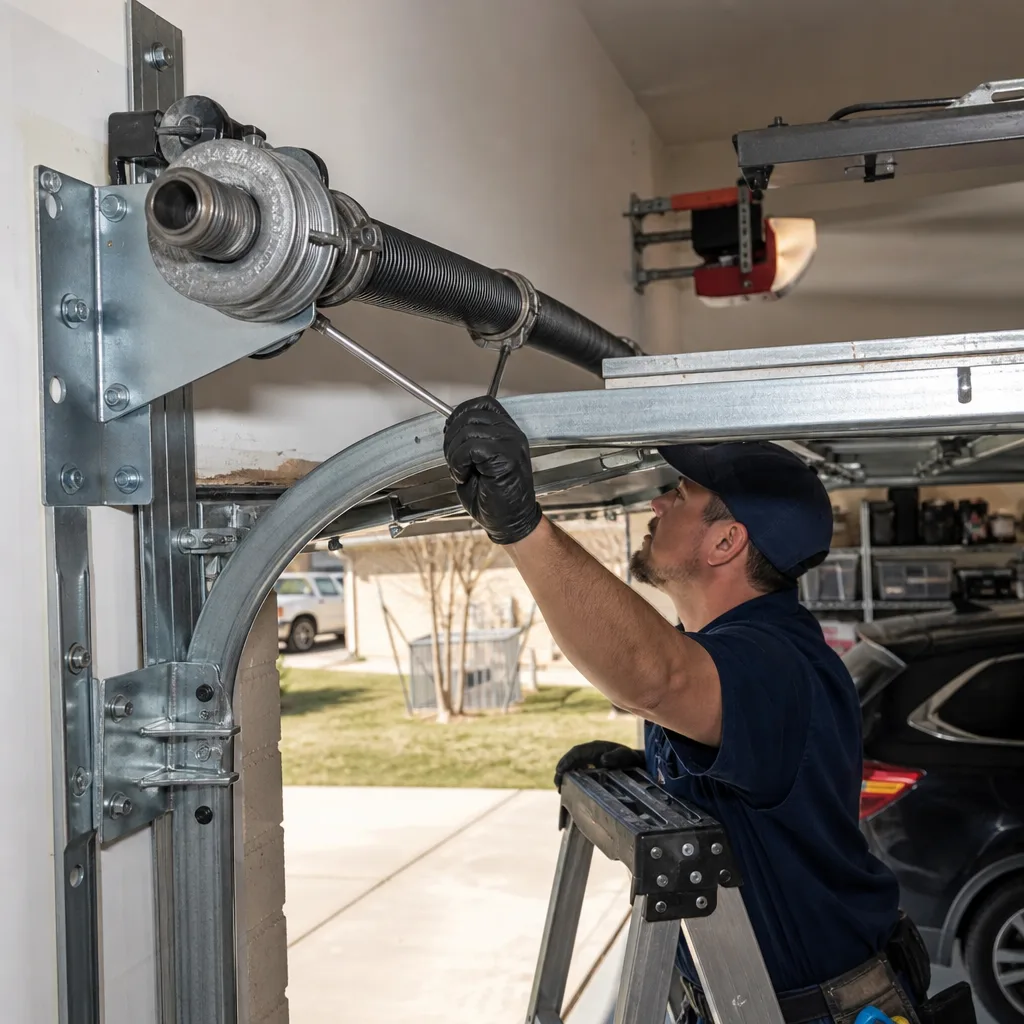 After
After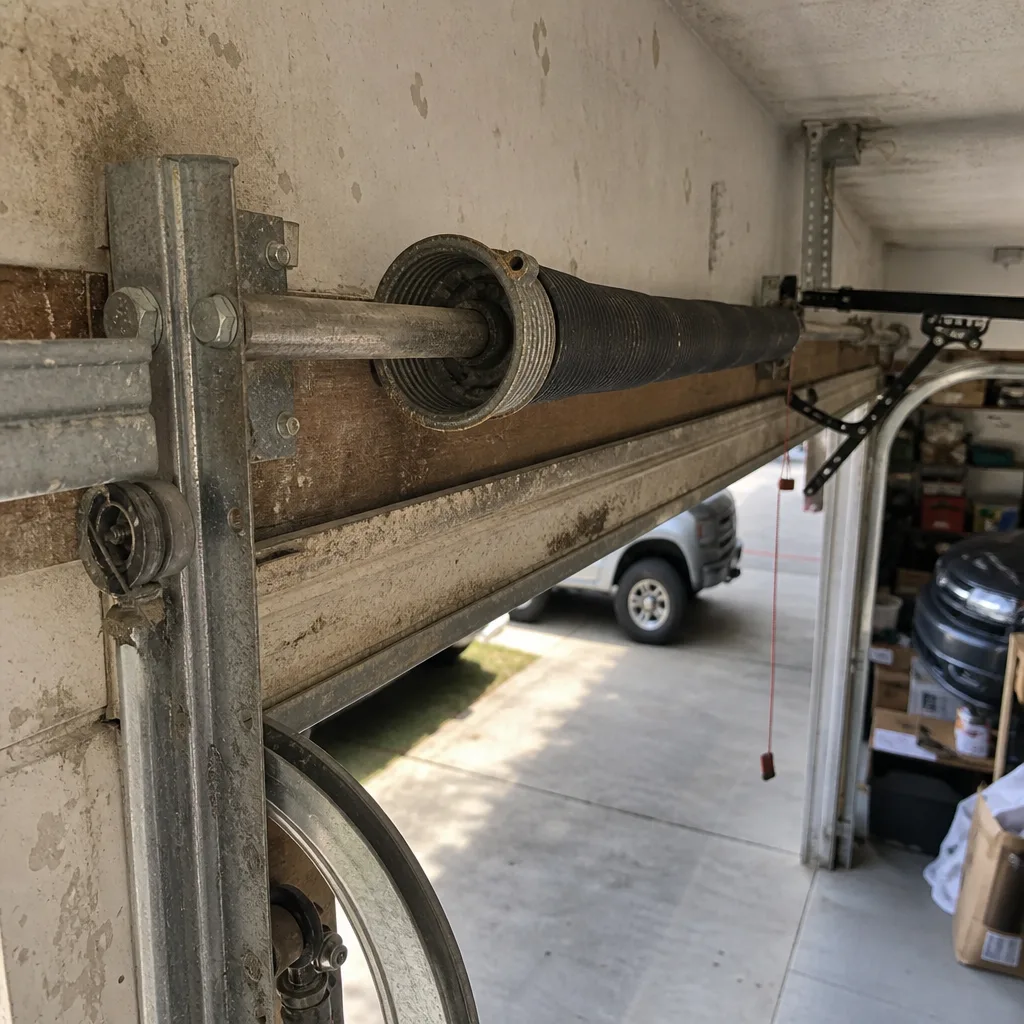 Before
 After
AfterDIY vs Professional Garage Door: The Schertz Homeowner’s Decision Guide
Every year in Schertz, a few homeowners end up in the ER because a YouTube video made garage door spring work look manageable. The video left out the part about 200 pounds of stored energy releasing in a tenth of a second. This guide won’t do that. You’ll learn which garage door jobs are genuinely safe for a capable homeowner with basic tools, which ones need research and patience, and which ones you should never touch regardless of how handy you are. By the end, you’ll know exactly where the real danger sits, what it actually costs either way-check our Garage Door Cost Breakdown: The Schertz Homeowner’s Reference for 2026 for the full picture-and how to make the call without second-guessing yourself at the hardware store.
Quick Answer
Most garage door maintenance in Schertz is DIY-safe: lubrication, weatherstripping, sensor cleaning, remote programming, and basic track cleaning take under an hour and cost less than $40 in parts. For a complete list, see our Garage Door Repair Maintenance Checklist for Schertz Homeowners. But torsion spring repair, cable replacement under tension, and structural header work are professional-only jobs where a $30 part becomes a $30,000 hospital bill when the stored energy releases wrong. For those, call a licensed Schertz garage door company and get a written price before work starts.
Table of Contents
- The Three-Tier System: What’s Safe, What’s Risky, What’s Off-Limits
- The Physics of a Torsion Spring: Why Skill Doesn’t Matter
- The Tool Reality Check: What YouTube Doesn’t Show You
- How Schertz Homeowner’s Insurance Treats DIY Garage Door Work
- The Honest Cost Comparison: DIY vs Professional, Job by Job
- Schertz-Specific Considerations: Heat, Humidity, and Soil Shift
- Common Mistakes to Avoid
- When to Call a Professional
- Frequently Asked Questions
- The Bottom Line
The Three-Tier System: What’s Safe, What’s Risky, What’s Off-Limits
We’ve been fixing doors in Schertz since 2004, and we’ve learned that every garage door job falls into one of three buckets. The trick is knowing which bucket you’re standing in before you pick up a wrench. Most homeowners get into trouble not because they lack skill but because nobody told them the bucket boundaries.
Tier 1: DIY-Safe - Go For It
These jobs require basic tools, take under an hour, and carry essentially zero risk of injury or property damage. If you can change a car’s air filter, you can handle all of these.
- Bottom seal replacement: The rubber strip on the bottom of your door rots and cracks in Schertz heat. A replacement seal costs $25-45 at any hardware store and slides into the existing channel. This is the single smartest DIY garage door project going.
- Lubrication: White lithium grease on the hinges, rollers, and track brackets twice a year. Use spray silicone on the torsion springs. This takes 15 minutes and extends every component’s life by years.
- Sensor alignment: Those two small eyes near the floor on each side of the opening. If one blinks, something’s off. Loosen the wing nut, adjust until both lights are solid, tighten. Done.
- Remote programming: New remote, new car, new code. Most opener brands, including LiftMaster and Genie, have a learn button on the motor head. Hold it, press the remote button, you’re done.
- Track cleaning: A rag and some degreaser on the vertical and horizontal tracks. Wipe out the grime, don’t bend anything, and the door rolls smoother immediately.
- Weatherstripping around the sides and top: Nail-on or peel-and-stick vinyl strips keep dust and June bugs out. A 10-foot kit runs about $15.
Tier 2: Proceed Carefully - Research First, Then Decide
These jobs sit on the fence. Some homeowners in Schertz do them successfully every weekend. Some call us halfway through after making things worse. The difference usually comes down to observation skills and willingness to stop when something looks wrong.
- Roller replacement: The rollers on the sides of the door wear flat over time. Replacing the non-cable rollers (the top four) is straightforward: bend the track slightly, pop the old roller out, pop the new one in. The bottom two rollers attach to the cable system. Touch those and you’re in Tier 3 territory fast.
- Hinge replacement: These are the metal brackets connecting door panels. When they crack, you’ll hear it. The top hinges are simple swaps. The bottom hinge on each side connects to the lift cable. Leave those alone.
- Minor track realignment: If the door binds but the track is only slightly out of true, a level and a rubber mallet can nudge things back. But if the track is visibly bent more than a quarter inch, stop. Bent tracks are structural, not aesthetic.
- Opener force adjustment: Chamberlain and LiftMaster openers have adjustment screws on the motor head. If the door reverses before hitting the floor, you can increase force slightly. But if the door still reverses after minor adjustments, the problem is usually balance, not force, and that’s Tier 3.
Tier 3: Professional-Only - No Exceptions
These jobs involve stored energy, structural stress, or both. I won’t describe how to do them. I’ll describe why you shouldn’t.
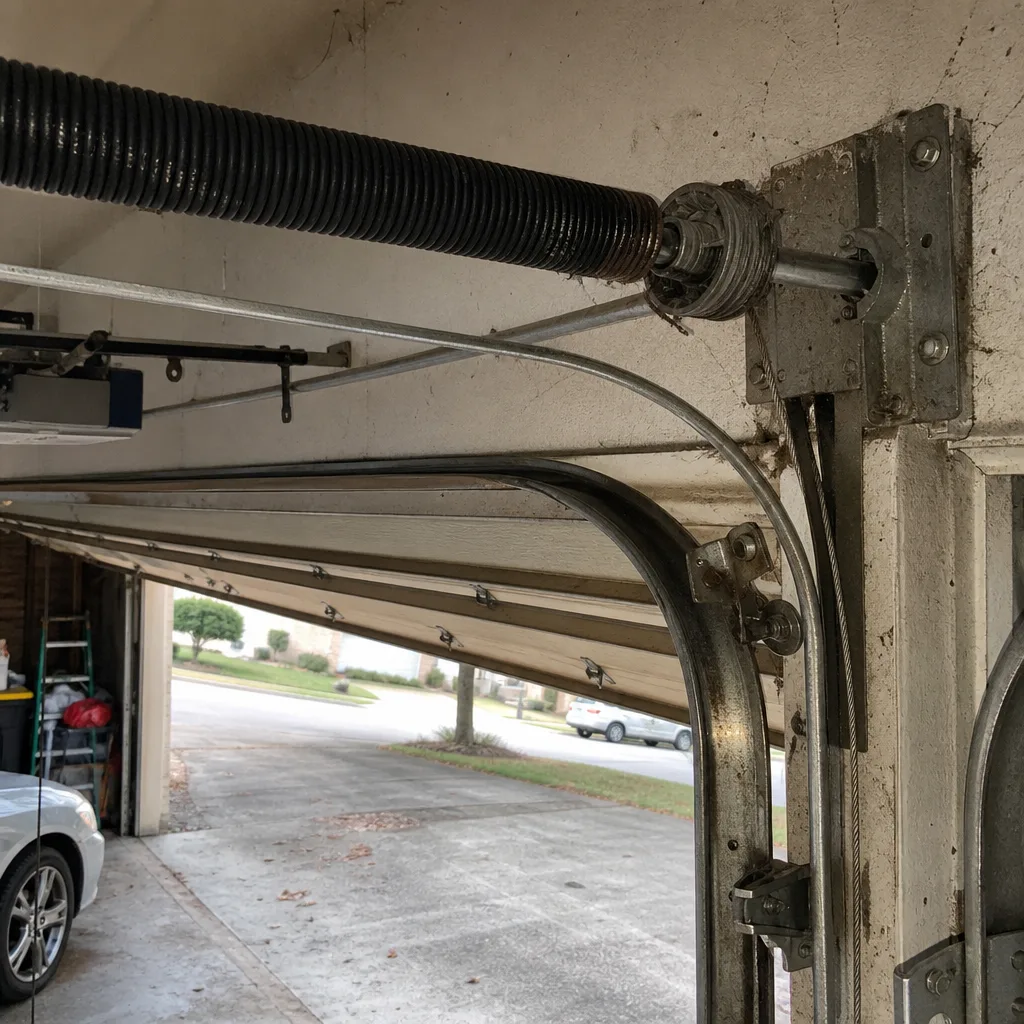
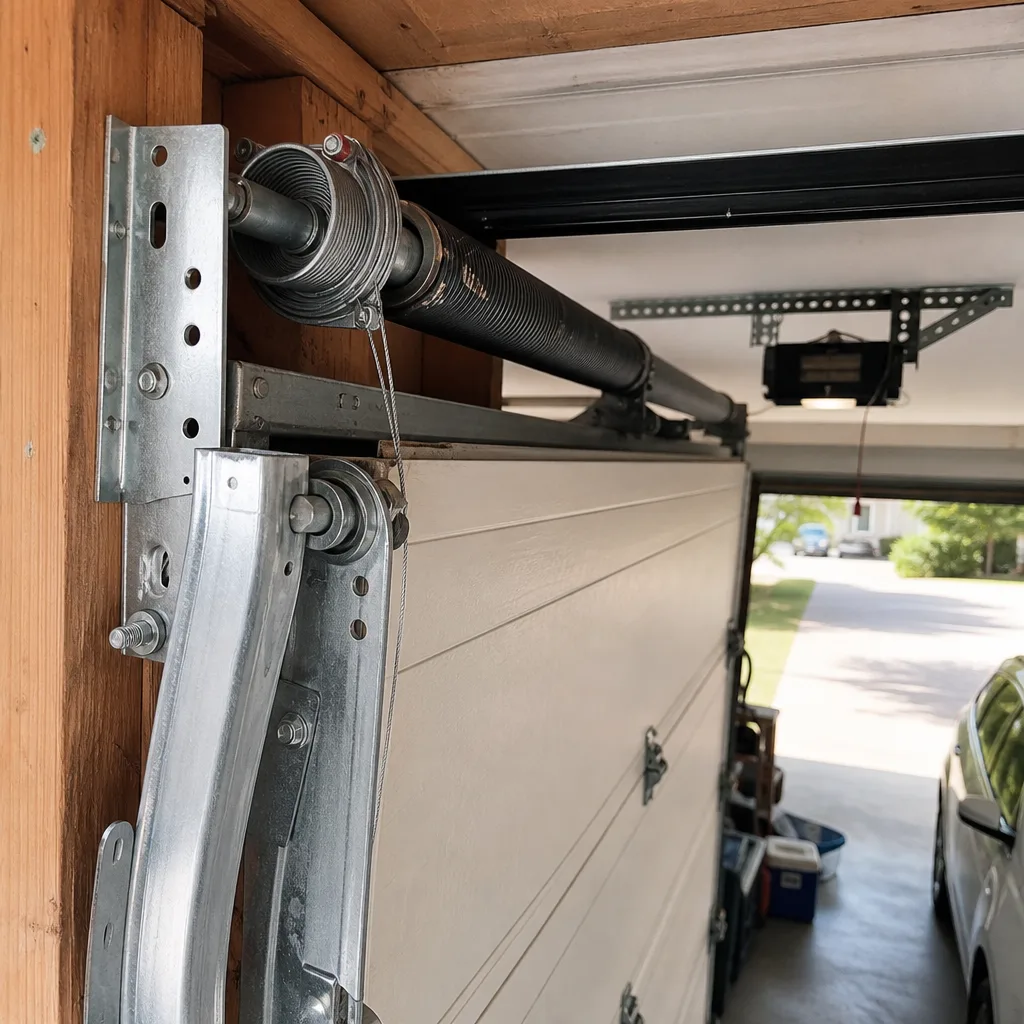
- Torsion spring replacement or adjustment: The spring above your door holds enough energy to lift the door. When it breaks or needs tension adjustment, that energy has to go somewhere. Without the right winding bars and the right technique, it goes into your hand, your face, or your chest.
- Cable replacement: The cables on each side bear the door’s full weight through every cycle. They stay under tension even when the door is fully open. If one snaps while you’re working on it, the door drops and whatever’s under it gets crushed.
- Header and structural work: The header beam above the opening carries wall load, door weight, and opener force. Any crack, rotation, or separation up there is a structural engineering problem, not a handyman problem.
- Full door panel replacement: The panel itself connects to hinges, cables, and the track system. One wrong move and the whole assembly binds. That’s a crew job.
If you remember nothing else from this guide, remember the three buckets. Tier 1 saves you real money. Tier 2 is where egos get bruised. Tier 3 is where people get hurt. And for any job that falls in that third bucket, our garage door repair in Schertz service is one call away.
The Physics of a Torsion Spring: Why Skill Doesn’t Matter
Most DIY injuries come from a misunderstanding about what a torsion spring actually is. A homeowner thinks, “It’s a spring. I’ve replaced springs on lawn mowers.” That’s like comparing a firecracker to a stick of dynamite because both go bang.
A residential torsion spring on a standard 16-foot garage door stores about 200 foot-pounds of torque when properly wound. That’s enough energy to lift a 200-pound door dozens of times per day for 10,000 cycles. When the spring is wound, every inch of that steel is under rotational stress. The winding cone at the end holds it in place. The set screws on that cone are what keep the spring from spinning free.
Here’s what happens in a spring failure. The spring has been wound and unwound for years, accumulating metal fatigue invisible to the naked eye. One day, on cycle number 11,432, the steel gives. The break happens in a microsecond. The spring unwinds violently, releasing all its stored torque at once. Anything in the unwinding path, a hand, a face, a shoulder, absorbs that force.
I’ve seen what a snapped torsion spring does to drywall. It punches through it like a bullet. I’ve seen what it does to a workbench. It splinters it. I’ve seen what it does to a human hand. I won’t describe that one. A door is 200 pounds riding on two springs. Respect it.
The most dangerous moment isn’t the break itself. It’s when a homeowner decides to “just adjust” a spring that’s still intact but under-tensioned. They insert a screwdriver or a rod into the winding cone, thinking they can add a quarter turn. The cone slips. The spring spins. The screwdriver becomes a projectile. This is the exact scenario that fills trauma center beds every spring in Texas.
This is also why we tell every Schertz homeowner the same thing: there is no safe improvisation with torsion springs. The proper tool is a pair of winding bars, half-inch cold-rolled steel rods specifically made for the cone size. If you own a set, you’ve probably been trained to use them. If you don’t, don’t substitute.
We offer professional garage door installation in Schertz for a reason. A new door means new springs, properly wound, properly balanced, and under warranty. That’s the only kind of spring work worth having.
The Tool Reality Check: What YouTube Doesn’t Show You
YouTube thumbnail: a guy in a clean polo shirt, one wrench in hand, smiling next to an open garage door. The video is 4 minutes long. The job looks effortless. What the thumbnail doesn’t show is the $400 in specialty tools the guy pulled from his truck before hitting record.
Let’s run the actual tool math for the most common DIY garage door jobs versus what most Schertz homeowners actually own.
What You Need for Tier 1 Jobs (Total Cost: Under $50)
- Flathead and Phillips screwdrivers
- Adjustable wrench
- Utility knife
- White lithium grease spray
- Silicone spray
- Replacement seal or weatherstrip
- Step ladder
Every homeowner in Guadalupe County has these, or can get them on one trip to the hardware store. Tier 1 jobs are legitimately accessible.
What You’d Need for Tier 3 Jobs (Total Cost: $200-500 Before Parts)
- Two proper winding bars: $30-50. These are specific diameter rods matched to your spring cone. A piece of rebar is not a winding bar. Rebar bends. A bending rod under 200 pounds of torque becomes a spear.
- Torque wrench: $80-150. The set screws on a winding cone must be torqued to spec. Too loose and the spring slips. Too tight and you crack the cone.
- Clamp or locking pliers rated for the cable: $20-40. When replacing cables, you need to secure the door safely before releasing tension. Vice grips from your junk drawer are not rated for this.
- Level, 4-foot minimum: $30-60. Track and door alignment require precise measurement, not eyeballing.
- Impact driver or drill with proper bits: $60-120. You own a drill. You don’t own the hardened bits that survive repeated contact with a garage door frame.
- Safety glasses and heavy work gloves: $25-50. Nobody thinks about these until the spring snaps.
Add it up. For a torsion spring replacement, you’re looking at $250-400 in tools before you buy the $70-120 spring itself. And after all that, you’ve done one job, you have no warranty, and you’ve absorbed all the risk.
Now consider what a pro brings to the same job. A truck stocked with every door and opener brand’s parts, from Clopay doors to Genie openers. Years of muscle memory for the exact torque spec on a given spring size. A second set of hands when the job needs it. And liability insurance that covers the work if something goes sideways afterward.
For garage door opener installation or repair in Schertz, the gap gets even wider. A new opener involves electrical wiring, safety sensor placement, force adjustment, and programming that changes between brands. The Chamberlain opener you buy at a big-box store isn’t always the same model we’d install, because store models are built to store specs, not installer specs.
How Schertz Homeowner’s Insurance Treats DIY Garage Door Work
Here’s the coverage gap most homeowners in Schertz never discover until it’s too late. Your homeowner’s insurance policy covers sudden and accidental damage to your property. It does not cover damage that results from workmanship errors, which is what most DIY garage door failures count as in the eyes of an adjuster.
Let’s say you replace your own torsion spring. A week later, the spring slips, the door crashes down, and it takes out the hood of your car parked in the driveway. You file a claim. The adjuster asks who installed the spring. You say you did. The claim gets denied because the damage resulted from improper installation, not a covered peril. You’re out the car repair plus the door repair plus the spring you already paid for.
Now let’s say the spring slips while your hand is in the way. Medical bills pile up. Your homeowner’s liability coverage doesn’t pay for your own injuries. Your health insurance kicks in, but with deductibles and out-of-pocket maximums, a bad DIY job can still cost five figures. And that’s if you have solid health coverage.
Even worse is the liability scenario. You adjust your own door, something fails, and the door falls on a neighbor kid or a visiting relative. Your insurance company investigates. They find the door was being serviced by an unlicensed, untrained person. Liability coverage may be denied. You’re personally on the hook.
Professional garage door companies in Texas carry general liability insurance and workers’ compensation coverage. If a licensed company’s work fails and damages your property or injures someone, their insurance pays. That’s the point of hiring a licensed pro. It transfers the risk away from you.
This is why we put our guarantee in writing on every invoice. But I’ll tell you the truth: a 90-day guarantee is the minimum. If something we touched fails a year later because of our work, I still make it right. That’s not policy language. That’s just how I operate. The name on the van is the name on the invoice and the name on the license.
The Honest Cost Comparison: DIY vs Professional, Job by Job
Here’s the breakdown nobody publishes. Real numbers, based on what we see across Schertz, Cibolo, Universal City, and the surrounding county. Compare them honestly, including your time and your risk.
Bottom Seal Replacement
- DIY cost: $25-45 for the seal, 30-45 minutes of your time. Total: under $50.
- Professional cost: $80-120 including parts and labor. Total: about $100.
- Our honest take: Do it yourself. This is the clearest DIY win in the garage door world. No risk, real savings, and you’ll feel good every time you open the door and see that clean seal.
Lubrication and Basic Maintenance
- DIY cost: $10-20 in supplies, 15 minutes twice a year.
- Professional cost: $60-90 for a maintenance visit.
- Our honest take: Do it yourself. Buy the right products, set a calendar reminder for spring and fall, and your door will last years longer. This is the highest ROI maintenance task there is.
Sensor Realignment or Cleaning
- DIY cost: $0-5 for a rag and maybe some glass cleaner. 10 minutes.
- Professional cost: $75-100 for a service call.
- Our honest take: Try the DIY fix first. Ninety percent of sensor problems are dirt or minor misalignment. If you’ve cleaned and realigned and the sensor still blinks, the sensor itself may be failing, and that’s a pro job.
Roller Replacement (Non-Cable)
- DIY cost: $30-60 for four nylon rollers, 45 minutes to an hour, plus a bruised knuckle or two.
- Professional cost: $120-180 for all rollers including the tricky bottom two.
- Our honest take: Borderline. If you’re steady and careful, the top rollers are doable. But the bottom rollers on the cable side need to be done right or you’ll be calling a pro anyway. If you’re on the fence, have a pro do all of them and get the warranty.
Torsion Spring Replacement (One Spring)
- DIY cost: $70-120 for the spring, $250-400 in specialty tools if you don’t own them, 2-4 hours of work, high injury risk, no warranty.
- Professional cost: $180-340 in Schertz depending on spring size and type, 1-2 hours, done by someone trained, with a written guarantee.
- Our honest take: Professional, no question. The math doesn’t even work for DIY if you don’t already own the tools, and the risk makes it a bad bet even if you do.
Cable Replacement (Both Sides)
- DIY cost: $40-80 for cables, 2-3 hours, requires releasing spring tension first (see above), several ways to get seriously hurt.
- Professional cost: $150-280 in Schertz, including re-balancing the door after installation.
- Our honest take: Professional. Cable replacement is spring work with extra steps. The door is off-balance the whole time. A single mistake drops the door on whatever’s beneath it.
Full Door Replacement
- DIY cost: $800-2,500 for the door from a big-box store, 4-8 hours minimum, two people required, springs and cables pre-installed by the manufacturer but still requiring proper set-up, no labor warranty.
- Professional cost: $1,200-4,500 in Schertz depending on door quality, insulation, window options, and removal of the old door. Includes haul-away, installation, balance check, and a written workmanship guarantee.
- Our honest take: Professional. The door itself is only half the job. Proper installation determines how long that door lasts and how well it operates. A $2,000 door installed wrong functions worse than a $1,200 door installed right.
One thing to remember on every professional job in Schertz. We quote the price before any work starts, on the phone or in writing, and I hold that number when I get there. No surprise upcharges. No “well, that’s a bigger job than I thought” after the fact. That’s a promise, and it’s been the same since 2004.
Schertz-Specific Considerations: Heat, Humidity, and Soil Shift
Schertz sits in a unique spot for garage door wear. The heat is brutal, the humidity swings are worse than people expect, and the soil under our foundations moves more than homeowners realize. All three factors hit garage doors harder than they’d hit a door up in Dallas or over in El Paso.
Let’s start with heat. A closed garage here can reach 120 degrees in August. That heat bakes the rubber components on your door. Bottom seals dry out, crack, and crumble. Weatherstripping pulls away from the frame. Springs lose their temper faster, cutting maybe 20% off their rated cycle life compared to a door in a cooler climate. Side and top seals around the door opening break down the same way. If you’re walking through your garage and see small rubber bits on the floor near the bottom of the door, that’s not dirt. That’s your seal dying.
Humidity is the sneakier problem. Schertz sits close enough to the Gulf that we get stretches of real moisture, especially in the spring during thunderstorm season. That humidity gets into motors and limit switches on openers, causing corrosion you won’t notice until the opener starts acting up. The solution is simple: a little dielectric grease on electrical connections and keeping the opener housing dry. We see this constantly in older homes off FM 1518 in Schertz, where garages are attached but not climate-controlled.
Soil shift is the one most people miss. The blackland prairie soil under Schertz and the surrounding area expands and contracts with moisture. Over years, your slab moves. A fraction of an inch is enough to make a garage door opening slightly out of square. Then the door binds, the opener strains, and you start blaming the opener for a problem it didn’t cause. If the opener is straining, the problem is almost never the opener. It’s the door’s balance or the frame’s alignment. This is where a professional assessment saves you from replacing a perfectly good motor.
The same soil shift affects tracks over time. We see doors in the older neighborhoods around Schertz, places like the established subdivisions off Schertz Parkway and FM 3009, where the tracks have drifted out of alignment because the wall moved, not because anyone did anything wrong. That’s a Tier 2 or Tier 3 correction depending on severity.
All this adds up to one piece of practical advice for Schertz homeowners: inspect your door twice a year, not once. Spring and fall, before the weather shifts, do a visual check. Look at the seals, listen for grinding, watch the door move. Catch the small stuff early and it stays small.
Common Mistakes to Avoid
- Using WD-40 on everything. WD-40 is a solvent, not a lubricant. It strips away whatever lubricant was there and then evaporates, leaving metal parts drier than before. Use white lithium grease on hinges and silicone spray on springs. In Schertz heat, WD-40 makes matters worse faster.
- Adjusting the spring without the right bars. We covered this, but it bears repeating because it’s the most common injury. Screwdrivers, pry bars, and rebar are not winding bars. A piece of scrap steel under 200 pounds of torque becomes a projectile faster than you can react.
- Ignoring a squeaky door for months. A squeak means friction. Friction means wear. Wear means a failure is coming. Lubricate the moment you hear it. The fix costs $10. The failure costs hundreds.
- Replacing the opener when the door is the problem. If your opener is straining, the door is probably off-balance. A new opener will strain just as hard and fail just as fast. Diagnose the door first, then decide on the opener. We say this to Schertz homeowners at least once a week.
- Buying cheap springs online. Those $40 springs on discount sites are often under-rated for the door weight and cycle count. A spring that fails early takes cables and panels with it. Buy springs from a supplier who knows what your door actually needs.
- Disconnecting the opener without unhooking the door first. If the door isn’t secured and you pull the release cord, the door can drop. Before touching the opener release, make sure the door is fully closed or properly supported. This one catches even experienced homeowners.
- Skipping the balance test after any door work. Disconnect the opener and lift the door manually halfway. It should stay put. If it doesn’t, something’s wrong, and running the opener against an unbalanced door wears everything faster. The balance test takes 30 seconds and tells you more than any YouTube video.
When to Call a Professional
Here’s the short version. If the job involves a torsion spring, a cable under tension, a structural header, or a door that won’t balance, call a pro. Those four things cover almost every serious garage door problem in Schertz, and every one of them can hurt you or your property when done wrong.
You should also call a pro when you’ve already tried the Tier 1 fix and the problem persists. A sensor that won’t stay aligned after cleaning, a door that keeps binding after track lubrication, an opener that reverses after force adjustment. These are signs of a deeper issue that needs trained eyes.
If you’re in Schertz and you’re not sure which bucket your problem falls into, call us. Otto’s Garage Door offers free estimates, and I’ll tell you straight whether it’s something you can handle yourself or something I should do for you. No pressure, no upcharge, no games. Call (830) 341-1180.
Frequently Asked Questions
Torsion spring replacement in Schertz typically costs between $180 and $340 per spring depending on the spring size, door weight, and whether you opt for standard or high-cycle springs. The price includes the spring, labor, and a written workmanship guarantee. Call (830) 341-1180 for an exact quote on your specific door. Estimates are free, and the price is fixed before any work starts.
No, you should not. The torsion spring on a residential garage door stores enough energy to lift 200 pounds dozens of times per day, and when that energy releases wrong, it goes into anything nearby, including your hands and face. The actual danger isn’t skill level. It’s the stored energy. Even professionals treat torsion springs with full respect and proper winding bars every single time.
Twice a year, in spring and fall, because Schertz heat and humidity accelerate wear on hinges, rollers, and springs. Use white lithium grease on metal-to-metal contact points and silicone spray on the torsion springs. Never use WD-40. The entire job takes 15 minutes.
If the opener is straining, the problem is almost never the opener. Most likely your door has lost its balance from spring fatigue, track misalignment from soil shift, or accumulated debris. Replacing the opener without fixing the underlying door problem means the new opener fails the same way. A professional door inspection identifies the actual cause before you spend money on a part you don’t need.
Probably not. Homeowner’s insurance covers sudden and accidental damage, not damage caused by workmanship errors on a self-performed repair. If a spring you installed yourself fails and damages property, the claim can be denied. If an unlicensed repair injures a visitor, liability coverage may also be denied. Hiring a licensed and insured garage door company transfers that risk away from you.
We service and install all major garage door and opener brands, including LiftMaster, Chamberlain, Genie, and Clopay, along with Amarr, Wayne Dalton, Craftsman, and Raynor. We’ve been working on doors in Schertz and the surrounding county since 2004, and we know the quirks of each brand. The person who answers your call can quote your specific brand and model on the spot.
The Bottom Line
Most garage door maintenance around Schertz is genuinely DIY-friendly if you stick to seals, lubrication, sensors, and remotes. Those jobs save you real money, take less than an hour, and carry no meaningful risk. The jobs involving springs, cables, and anything structural are different. They carry stored energy that doesn’t care how confident you are. For those, the math favors a professional every time: the tools, the warranty, the insurance, and the knowledge that the person who did the work will stand behind it. For more guides & resources, visit our blog. Otto’s Garage Door has been in Schertz since 2004, and I’ll be here next year and the year after, same name on the van, same guarantee in writing.
Written by Otto Reinhardt, Owner at Otto’s Garage Door, serving Schertz since 2004.